How to Build a 3-Rail Nail on Fence in Twin Falls Idaho
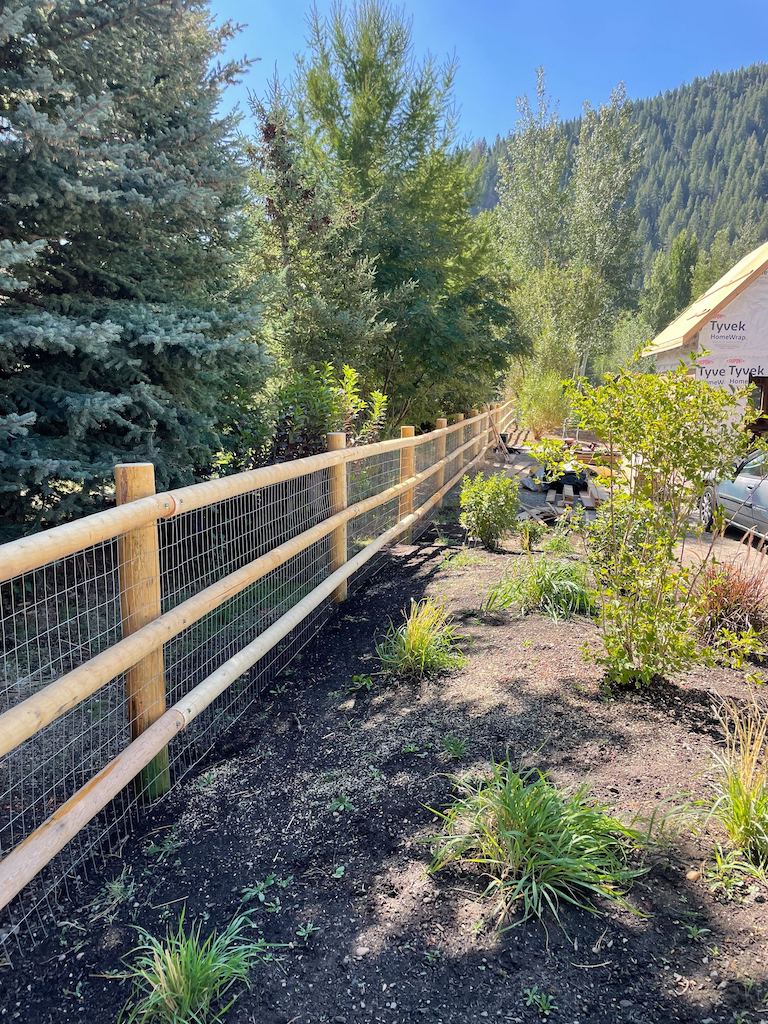
Building a 3-rail nail-on wood fence is a great way to add privacy and security to your property. Here is a step-by-step guide to help you build your own:
Materials:
- Wooden fence posts
- Wooden fence rails
- Nails
- Hammer
- Saw
- Level
- Measuring tape
- Post hole digger
- Concrete – optional
Instructions:
- Determine the location and layout of your fence. Use a measuring tape to measure the area where you want to install the fence. Mark the location of the fence posts with stakes.
- Dig holes for the fence posts using a post-hole digger. Each hole should be at least 2 feet deep and 8 inches in diameter.
- Place a fence post in each hole and use a level to ensure they are straight. Fill each hole with concrete and let it dry for at least 24 hours.
- Measure the distance between the first and second posts, and cut a fence rail to fit. Attach the rail to the posts with nails, ensuring it is level. Repeat this step for the second and third rails.
- To attach the rails to the posts, start at one end and nail the rail to the post. Check the level and adjust as necessary. Then, move to the other end and nail the rail to the post.
- Continue this process for each rail, spacing them evenly between the posts.
- Once all the rails are attached, go back and add additional nails for extra support.
- Finally, trim any excess wood and make sure all nails are secure.
Congratulations, you have successfully built a 3-rail nail-on wood fence!
If you don’t want to do the work yourself, we are happy to help. Sawtooth Wood Products is the highest and most reviewed fence contractor in Idaho. We would love to build a fence for you if your property is in Hailey, Ketchum, Sun Valley, Bellevue, Twin Falls, or the surrounding area.